Hey everyone!
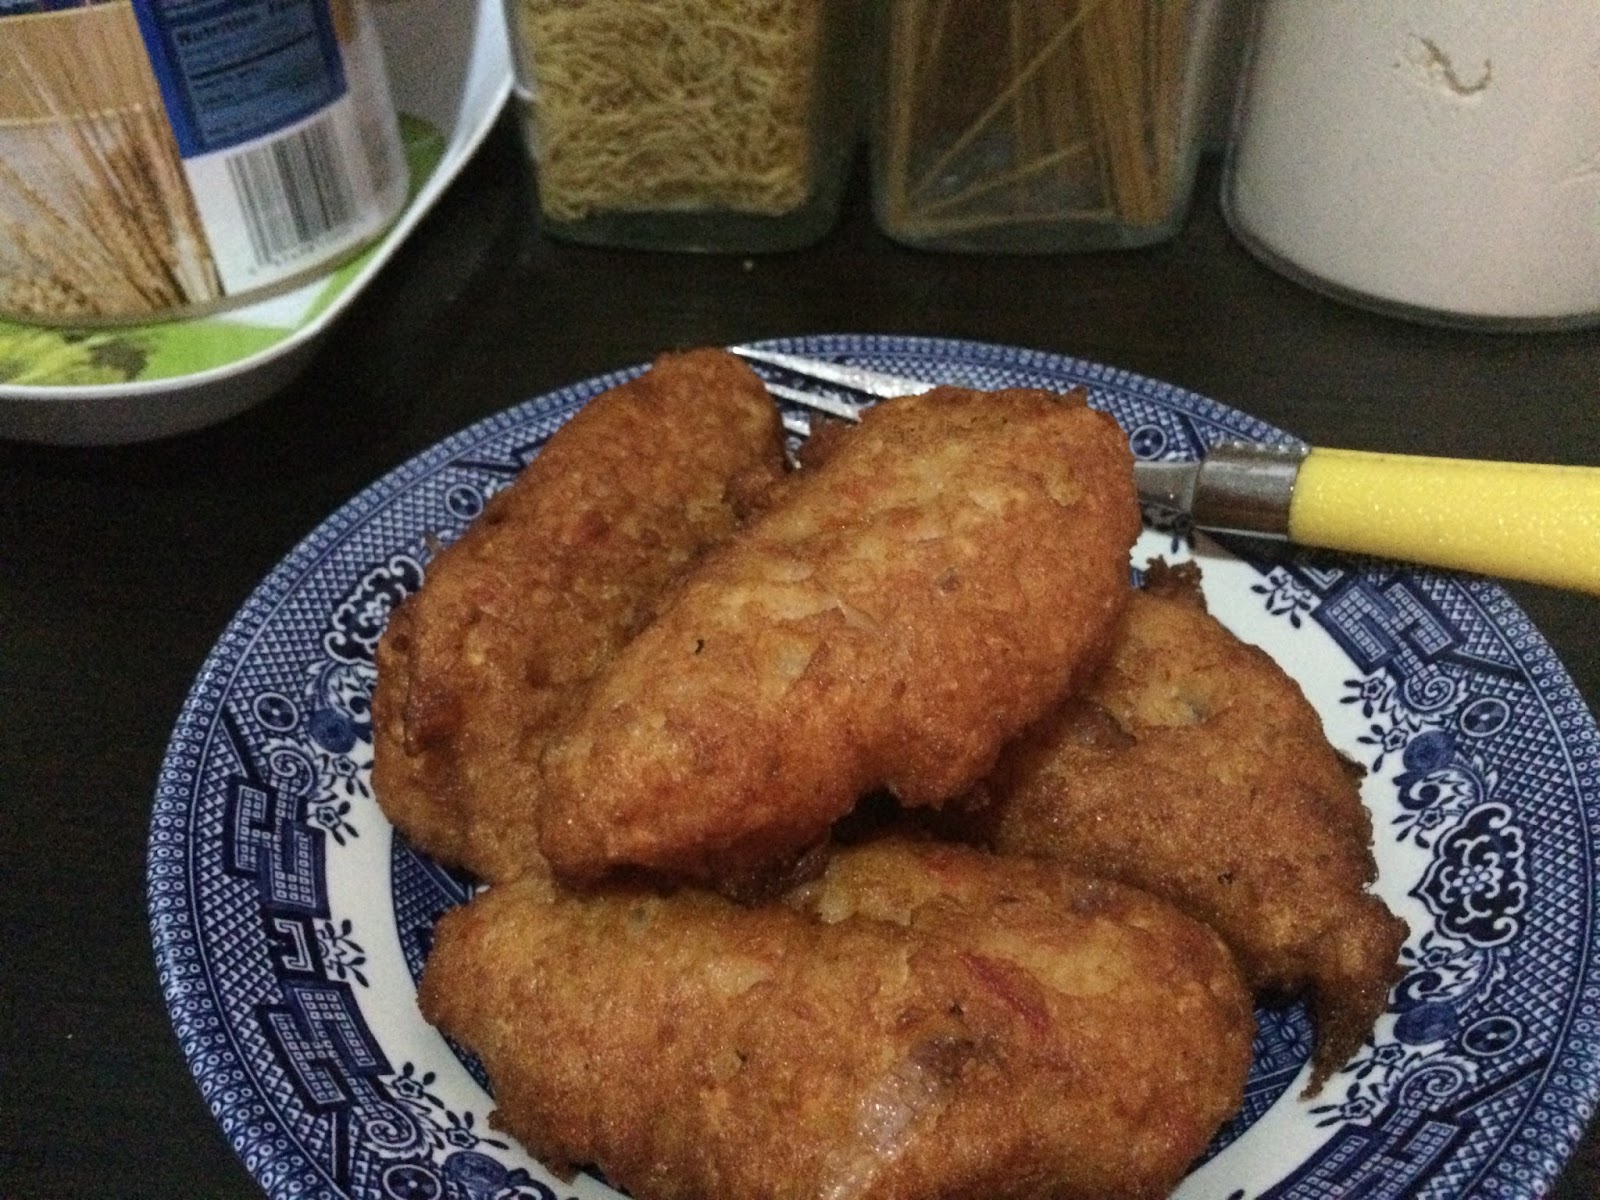
There’s no better way to start your weekend than to have some hot akara served as breakfast. Wait oh, not just any akara ; road side akara or Mama Silifat’s akara. This is homemade and five star akara. No cause for alarm. It is very easy to prepare and less time consuming. Follow this few tips and you’ll have the whole street at your doorstep.
#Tip 1 Choice of Beans: For me, the choice of beans is key. I love brown beans any time, any day and it works for me. Brown beans is more nutritious, tastier though a little more expensive compared to the white beans. They call the specie of beans ‘Iron Beans’ and it is easily accessible in the market.
Depending on the number of people to be served, soak for about 10 minutes and wash with both hands; removing the outer skin.
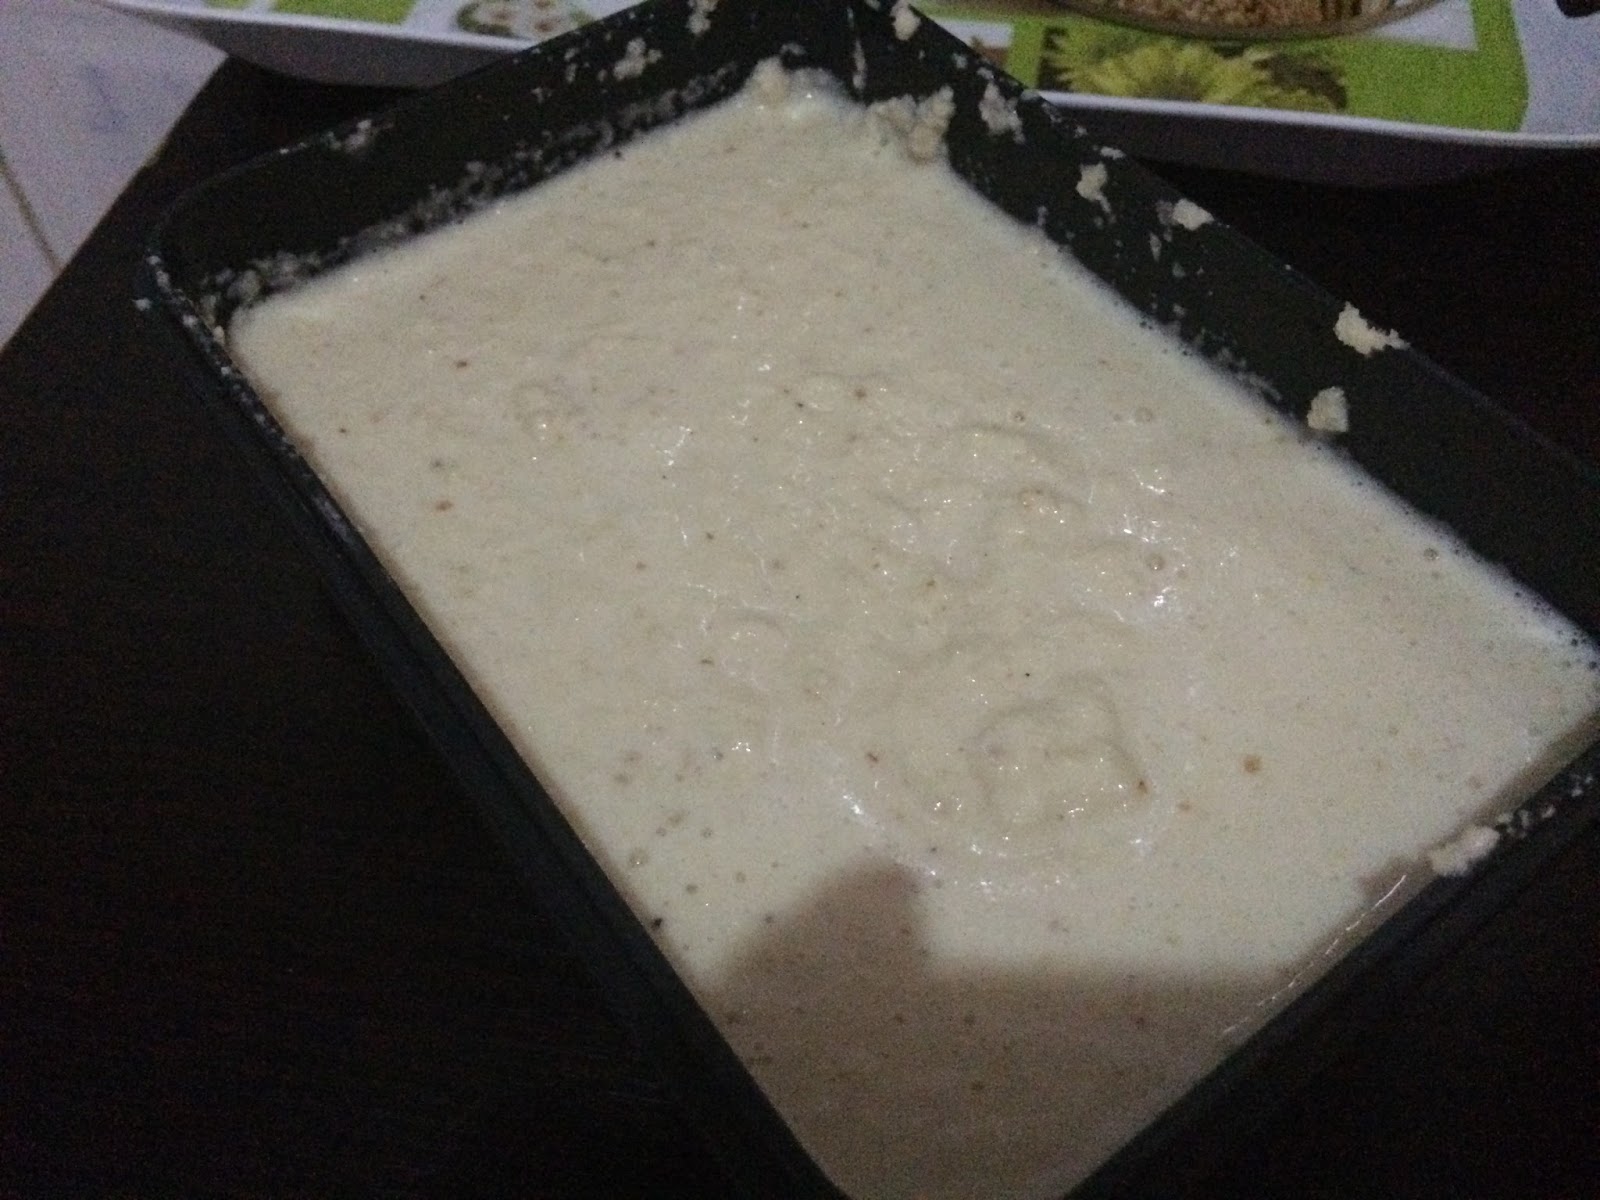
#Tip 2 Blending: After washing, put to blend. Using a blender, add some warm water and blend till it forms a smooth paste. The trick in blending is the use of warm water and not adding too much water. It has to be semi thick.
#Tip 3 chopped onions and pepper: Do not be afraid to chop a lot of onions and pepper. This is because they both give it that spicy and tasty yum yum that could turn you to a professional akara fryer. Lots of fresh pepper and onions just make sure they are nicely chopped.

#Tip 4 The mixing: Pour the mixture into a mortar and turn in a circular fashion for about 30-40 minutes. Be patient though as this also helps in perfecting this delicious meal.
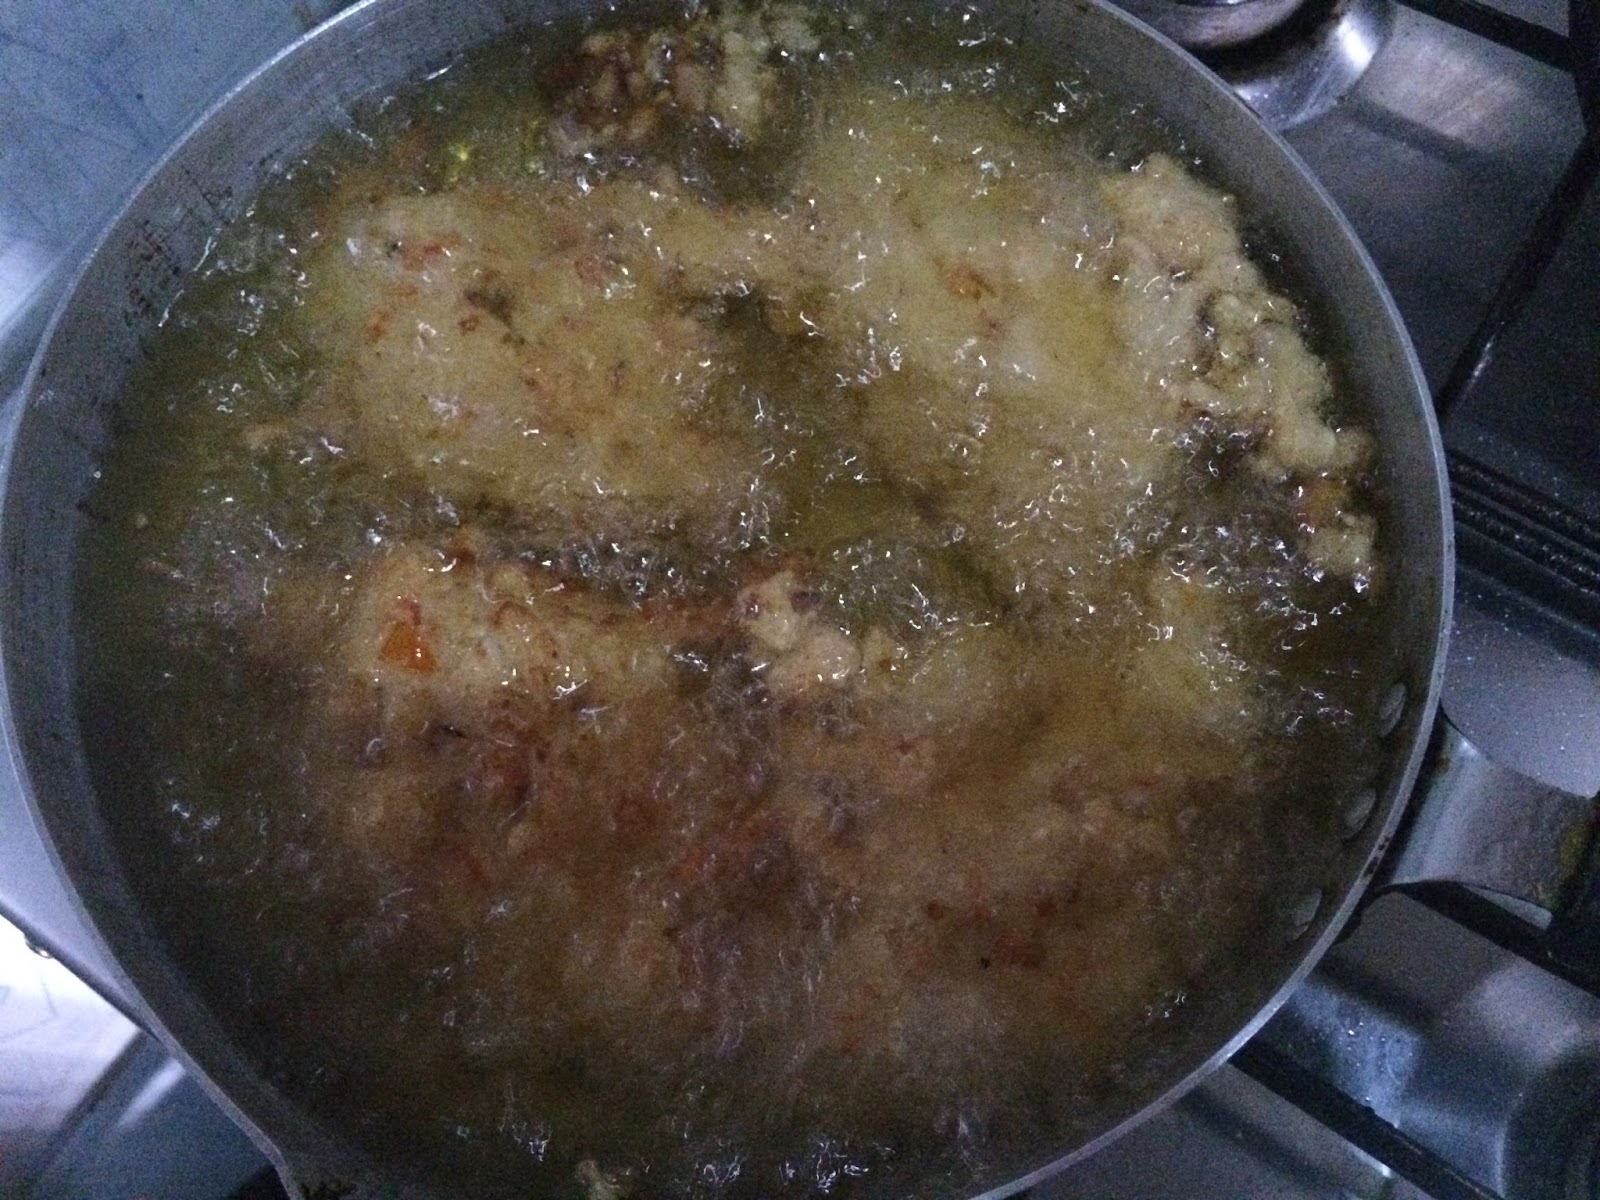
#Tip 5 The frying: Pour clean vegetable oil into a frying pan. The oil should be 3/4 of the frying pan and set to heat. It must be very hot and the heat reduced when the akara is inserted into the oil using a cooking spoon.

Leave a comment